5 Best YAML Editors for Home Assistant in 2026 (Config Editing)
Home Assistant configuration editing has one critical requirement: understanding !include directives. Most YAML editors treat these as syntax errors. Home Assistant-specific editors recognize them as valid and provide validation across included files.
The Studio Code Server add-on runs VS Code inside your Home Assistant environment with direct file access. No SSH setup. No file sync. Open the add-on and edit configuration.yaml with full VS Code features. This is the default recommendation for most users.
For external editing, install VS Code locally with the Home Assistant Config Helper extension. It connects to your running Home Assistant instance and validates configurations against your actual integrations. It knows which entities exist and which services are available. This catches errors generic YAML validators miss.
Use Studio Code Server if you edit from browser or tablet. Use local VS Code with Config Helper if you prefer desktop editing with your existing setup. Use File Editor for quick single-line changes without opening a full editor.
This guide covers five editing methods tested against real Home Assistant configurations with custom integrations, split configs, and template sensors.
1. Studio Code Server Add-on
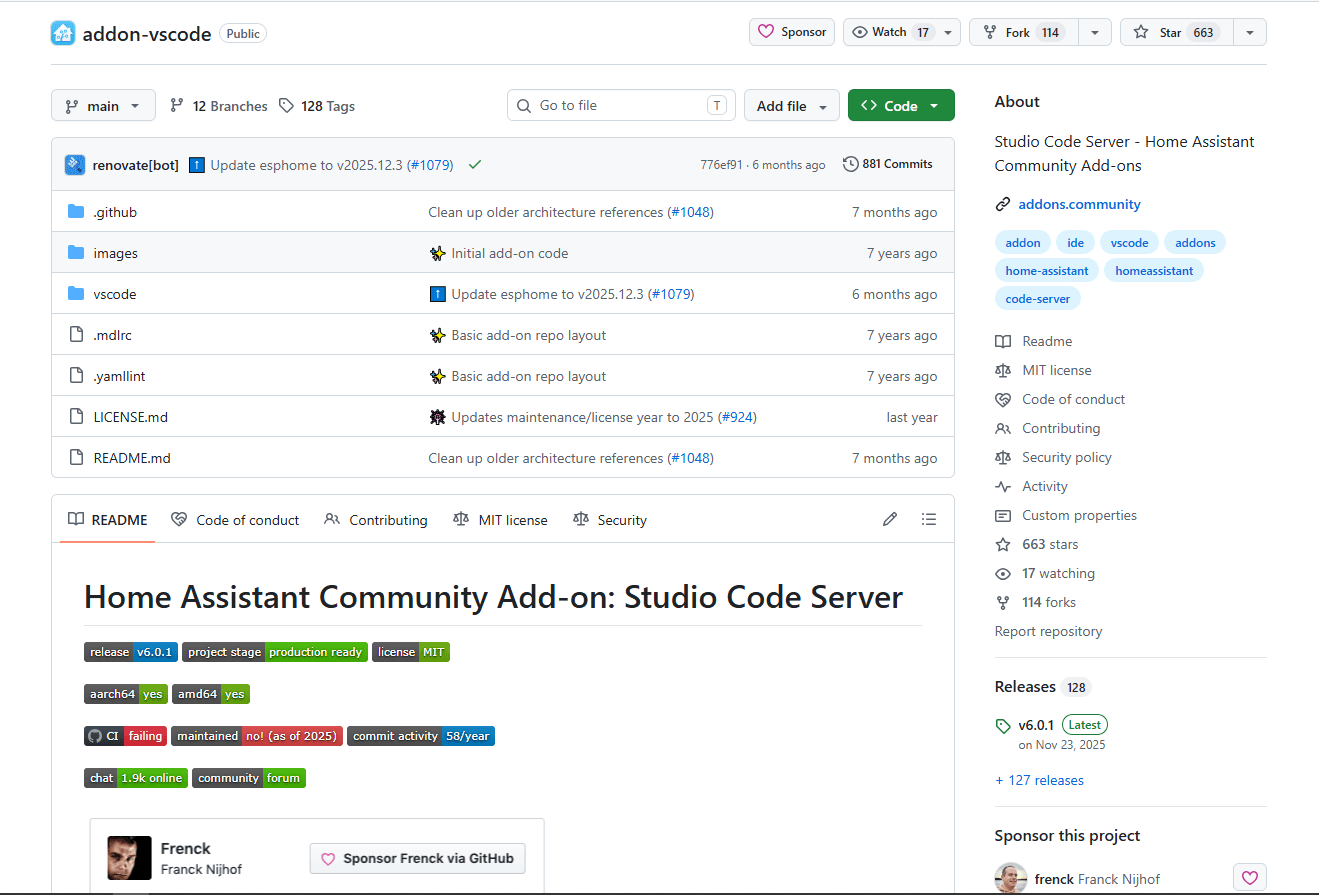
Studio Code Server is an official Home Assistant add-on that runs Visual Studio Code directly in your browser. Full VS Code experience without installing anything on your computer.
Go to Settings → Add-ons → Add-on Store, search "Studio Code Server", click Install, then Start, then "Open Web UI".
What you get:
- Full VS Code interface in browser
- Direct file access to configuration.yaml and all config files
- Home Assistant Config Helper extension pre-installed
- Real-time validation against your Home Assistant instance
- Understanding of !include, !include_dir_merge_list, and other directives
- Syntax highlighting for Jinja2 templates
- Auto-completion for entity IDs and service names
What you don't get:
- Desktop app performance (browser-based adds overhead)
- Offline editing (requires Home Assistant running)
- Works on older Raspberry Pi models (Pi 4+ recommended)
Home Assistant-specific features:
The add-on comes with Home Assistant Config Helper pre-configured. Type automation: and get autocomplete suggestions for trigger, condition, action. Start typing an entity ID and see suggestions from your actual entities. Write a service call and see valid service parameters.
The validator understands split configurations. If you use !include automations.yaml, validation works across both files. Change an entity ID in one file and the extension flags broken references in included files.
Performance:
Runs well on Raspberry Pi 4 and above. Older Pi models may feel sluggish with large configuration files. The browser interface uses more RAM than native VS Code but works fine on modern systems.
When this is best:
If you edit configs from multiple devices (desktop, laptop, tablet). If you want zero setup beyond clicking Install. If you prefer browser-based editing. If you're new to Home Assistant and want the path of least resistance.
The add-on updates automatically with Home Assistant. No maintenance required.
2. VS Code with Home Assistant Config Helper
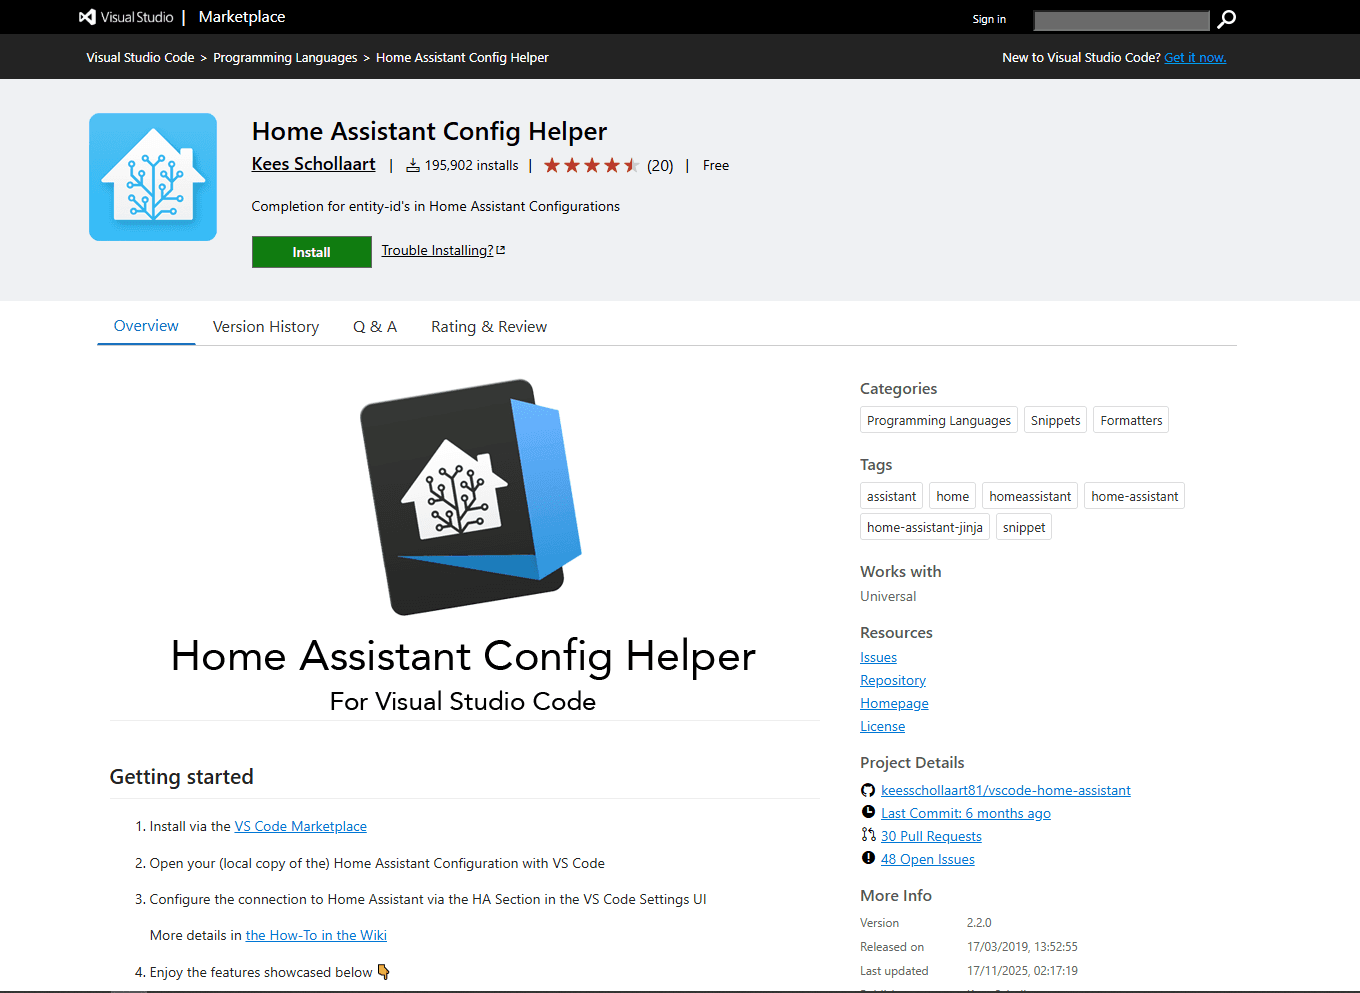
VS Code with Home Assistant Config Helper extension gives you full desktop VS Code performance with Home Assistant-aware validation.
Download VS Code from code.visualstudio.com, open VS Code, press Ctrl/Cmd + Shift + X, search "Home Assistant Config Helper", and install.
What you get:
- Real-time validation against your actual Home Assistant setup
- Entity ID autocomplete from your running instance
- Service call validation with parameter checking
- Understanding of custom integrations and their schemas
- !include directive support with cross-file validation
- Jinja2 template syntax highlighting
- Go-to-definition for entity IDs (jumps to entity definition)
- Desktop performance (faster than browser-based)
- Works offline once files are synced
What you don't get:
- One-click install (requires VS Code + extension + token setup)
- Direct file access (need SSH, Samba, or git sync)
- Built-in Home Assistant integration (must configure manually)
Setup process:
Open VS Code Settings (Ctrl/Cmd + ,). Search "Home Assistant". Set "Home Assistant: Host URL" to your Home Assistant URL (http://homeassistant.local:8123). Generate a long-lived access token in Home Assistant (Profile → Security → Create Token). Paste token into "Home Assistant: Long Lived Access Token" setting.
The extension establishes a WebSocket connection to your Home Assistant instance. It downloads your entity registry, service definitions, and schema information for validation.
File access methods:
SSH: Install Remote-SSH extension. Connect to your Home Assistant host via SSH. Edit files directly on the system.
Samba/SMB: Share your config folder via Samba. Mount it on your computer. Open the mounted folder in VS Code.
Local sync: Use git or rsync to sync config files locally. Edit locally. Push changes back. This adds complexity but works offline.
When this is best:
If you want desktop performance. If you already use VS Code for other projects. If you need multiple monitors with different files visible. If you want to use other VS Code extensions alongside Home Assistant tools.
3. File Editor Add-on
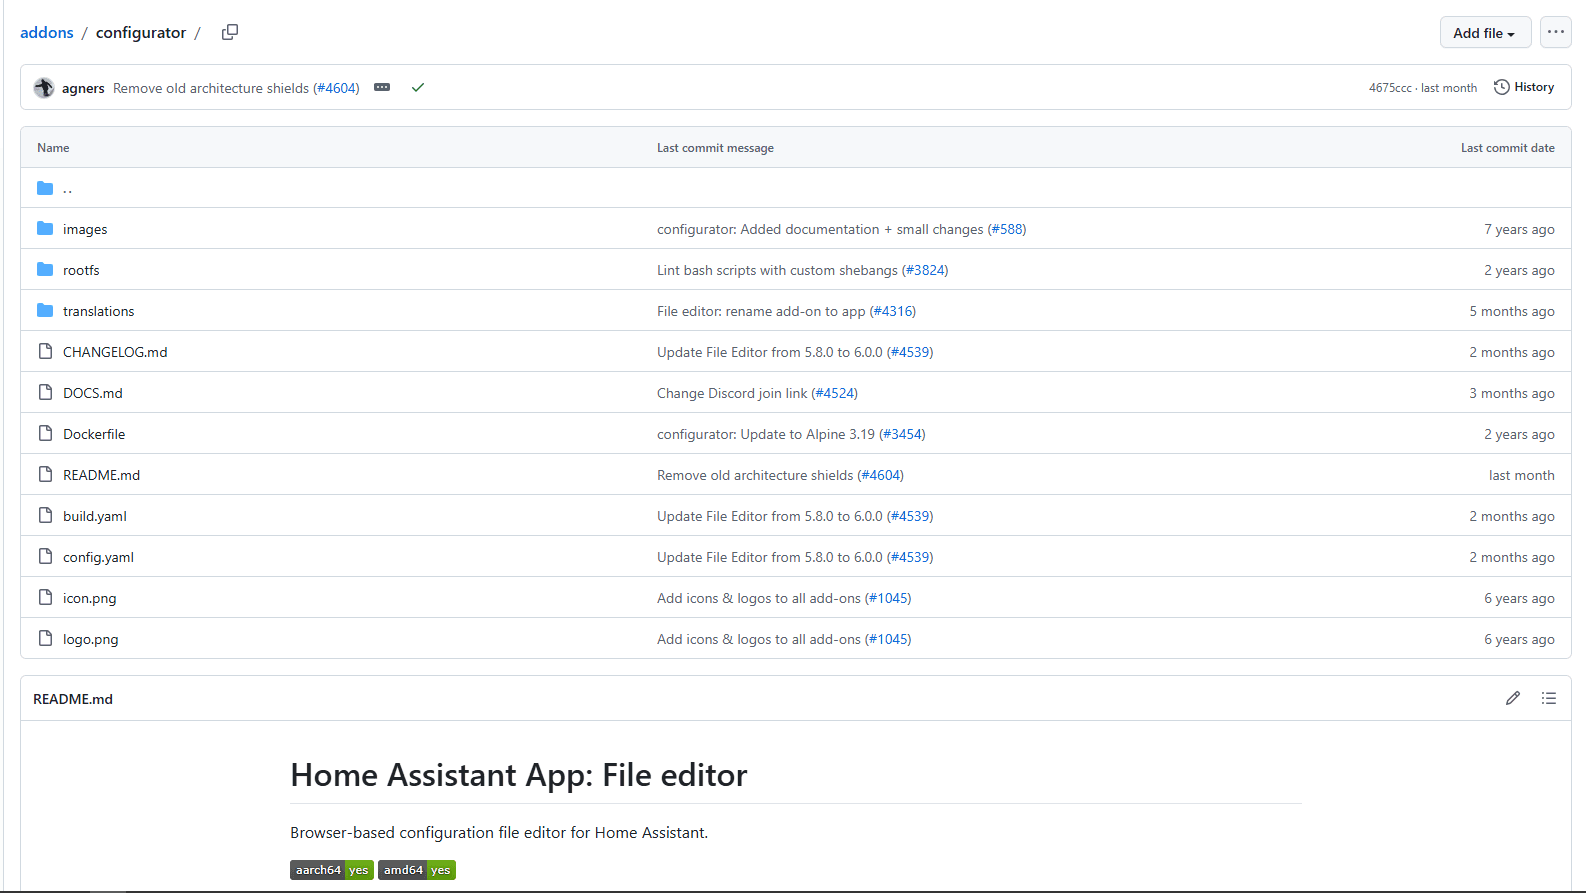
File Editor is a lightweight add-on for quick edits without the overhead of full VS Code. Basic syntax highlighting and direct file editing in a simple interface.
Go to Settings → Add-ons → Add-on Store, search "File Editor", click Install, Start, then "Open Web UI".
What you get:
- Simple file browser on the left
- Text editor on the right
- YAML syntax highlighting (basic colors only)
- Save button
- One-click install (no configuration needed)
- Works on older hardware (lighter than Studio Code Server)
What you don't get:
- Validation or error detection
- Autocomplete for entity IDs
- Understanding of !include directives
- Schema validation
When this works:
Changing a single value in configuration.yaml. Fixing a typo. Commenting out a line for testing. Adding one entity to customize.yaml. Tasks that take 30 seconds and don't need validation.
When this fails:
Editing complex automations. Writing new integrations. Restructuring configurations. Anything where you want validation or autocomplete. The editor shows syntax colors but doesn't catch errors until you restart Home Assistant.
Recommendation:
Install both Studio Code Server and File Editor. Use Studio Code Server for actual config work. Use File Editor when you need to change one line from your phone and don't want to load the full editor.
4. Notepad with SSH/Samba

Notepad with SSH file access gives Windows users a lightweight native editor for Home Assistant configs. No browser required. Fast launch. Works offline once files are synced.
Install Notepad from notepad-plus-plus.org, install NppFTP plugin (Plugins → Plugins Admin → Search "NppFTP"), configure SFTP connection to your Home Assistant host, or mount Home Assistant config folder via Samba and open files directly.
What you get:
- Native Windows app (faster than browser-based editors)
- YAML syntax highlighting
- Search and replace across all config files
- Tabs for multiple open files
- Fast launch (under 1 second)
What you don't get:
- Home Assistant-specific validation
- Entity ID autocomplete
- !include directive understanding
- Service call checking
- Template validation
Workflow:
Connect via SFTP or Samba. Open configuration.yaml. Edit. Save. The file uploads automatically (SFTP) or saves to network share (Samba). Reload Home Assistant configuration to test.
When this makes sense:
If you're on Windows and want a lightweight editor. If Studio Code Server feels slow on your hardware. If you prefer desktop apps over browser tools. If you're comfortable validating by reloading configs.
For most users, Studio Code Server or local VS Code with Config Helper provides better Home Assistant integration. Notepad works when you prioritize raw editing speed over validation.
5. Vim/Nano via SSH
SSH into your Home Assistant host and edit configuration.yaml with Vim or Nano. No GUI. No validation. Pure terminal editing.
For Home Assistant OS, install "Terminal & SSH" add-on, set a password, then SSH to port 22222. Home Assistant Container and Core allow direct SSH access to the host.
What you get:
- Direct file system access
- Editing from any SSH client (phone, tablet, another computer)
- No dependencies on web browsers or desktop apps
- Works over slow connections (text-only)
- Emergency access when web UI won't load
What you don't get:
- Home Assistant schema validation
- Entity ID autocomplete
- !include directive understanding
- Template validation
- Visual comfort (terminal text editing is harder than GUI)
When this makes sense:
If you live in the terminal. If you're troubleshooting via SSH and need to fix a config error preventing Home Assistant from starting. If you're on a very constrained connection where loading a web UI is too slow.
For daily configuration work, this is the hardest option. For emergency fixes when the web UI won't load, it's the only option.
Which Editor Should You Actually Use?
If you're new to Home Assistant, install Studio Code Server add-on. One-click install. Opens from your sidebar. Full validation with entity autocomplete. Works from any device.
If you're an experienced developer, install VS Code locally with Config Helper. Desktop performance. Multiple monitors. Works with your existing VS Code workflow.
If you need quick changes from mobile, use File Editor. Lightweight. Fast loading. Good enough for single-line edits.
If you're on Windows and want a native app, Notepad with SSH works. But Studio Code Server provides better validation with almost no setup cost.
Quick Picks for Home Assistant YAML Editing
Home Assistant YAML Editing Best Practices
Use !include for organization:
Split configuration.yaml into separate files. automations: !include automations.yaml, scripts: !include scripts.yaml. This keeps the main config readable and makes git diffs cleaner.
Validate before reloading:
Studio Code Server and Config Helper show errors as you type. Check for red underlines before saving. This catches issues before they break your Home Assistant reload.
Understand truthy values:
Home Assistant requires true and false (lowercase) for booleans. Don't use yes, no, on, off. These are valid YAML but not recommended for Home Assistant configs.
Test with "Check Configuration":
Developer Tools → YAML → Check Configuration. This validates your entire config without restarting Home Assistant. Catch errors before they cause downtime.
Use the YAML validator for includes:
If validation seems wrong, check that your editor recognizes !include directives. Generic YAML tools don't understand them. Home Assistant-specific editors do.
Recommended Setup
For new users: Install Studio Code Server add-on. Open it from your sidebar. Start editing.
For experienced users: Install local VS Code with Home Assistant Config Helper. Connect via SSH or Samba. Use desktop performance with full validation.
For quick fixes: Install File Editor alongside your main editor. Use it for single-line changes from mobile devices.
For emergency access: Know how to SSH in and use Nano. This saves you when the web UI breaks.
Most users end up with Studio Code Server for regular work and File Editor for quick tweaks. Both are one-click installs from the add-on store.
Frequently Asked Questions
What's the best YAML editor for Home Assistant?
Studio Code Server add-on. Install it from Settings → Add-ons → Add-on Store. It runs VS Code in your browser with Home Assistant Config Helper pre-installed. You get syntax highlighting, entity ID autocomplete, and validation against your actual Home Assistant setup. It understands !include directives and validates across split config files. One-click install with zero configuration required.
How do I edit configuration.yaml in Home Assistant?
Three options: Install Studio Code Server add-on (Settings → Add-ons), use File Editor add-on for quick changes, or install VS Code locally with Home Assistant Config Helper extension. Studio Code Server is easiest for most users. Open the add-on, click configuration.yaml, edit, save. Reload Home Assistant configuration to apply changes.
Does VS Code work with Home Assistant?
Yes. Install the Home Assistant Config Helper extension in VS Code. Configure your Home Assistant URL and create a long-lived access token. The extension connects via WebSocket and provides entity ID autocomplete, service validation, and schema checking. Access files via SSH Remote, Samba share, or local git sync. The extension validates YAML against your running Home Assistant instance.
Can I edit Home Assistant configs on my phone?
Yes with Studio Code Server add-on or File Editor add-on. Both run in your browser and work on phones and tablets. Studio Code Server provides full VS Code features but needs a larger screen for comfortable editing. File Editor is simpler for quick changes on small screens. Access both from your Home Assistant sidebar after installation.
How do I validate Home Assistant YAML before restarting?
Use Developer Tools → YAML → Check Configuration. This validates your entire config without restarting. Or use Studio Code Server or VS Code with Config Helper extension. Both show validation errors in real-time as you edit. Red underlines indicate schema violations, missing entities, or invalid service calls.
What is the Studio Code Server add-on for Home Assistant?
An official Home Assistant add-on that runs Visual Studio Code in your browser. It provides direct access to your config files with syntax highlighting, autocomplete, and Home Assistant-specific validation. Install from Settings → Add-ons → Add-on Store. No external software needed. Works on any device with a web browser. The add-on includes Home Assistant Config Helper pre-configured.
Related Reading
For general YAML editing outside Home Assistant, see the best YAML editors for Windows, best YAML editors for Mac, and best YAML editors for Linux guides.
VS Code extension guides:
- Best YAML extensions for VS Code for VS Code YAML plugin comparisons
- Best JSON extensions for VS Code for JSON editing in VS Code
Format comparisons:
Read More
All Articles
8 Best YAML Editors for Linux in 2026 (GUI & Terminal)
Compare 8 best YAML editors for Linux including VS Code, Kate, Vim, yamllint, and GUI tools. Covers terminal and desktop options for Ubuntu, Fedora, and Arch Linux users.

7 Best YAML Editors for Mac in 2026 (Free & Paid)
Find the best YAML editor for macOS with validation and syntax highlighting. Compare VS Code, Sublime Text, BBEdit, and more for Kubernetes, Docker, and CI/CD configs.
8 Best YAML Editors for Windows in 2026 (Free & Paid)
Find the best YAML editor for Windows 11 and 10 with validation and syntax highlighting. Compare VS Code, Notepad++, Sublime Text, and more for Kubernetes and Docker configs.